Indigo Update: Custom CSS
Posted on by Angelo Stavrow
This site runs a customized version of Indigo — essentially, a different colour palette and some custom styling for the Updates page. Because of this, it’s always been a bit of a headache to update to the latest version of the theme. No more! I’m happy to announce that you can now easily import custom CSS into Indigo.
The old and busted
When I created Indigo and applied it to this site, I went through the theme’s CSS file and, wherever I found a colour I wanted to replace, I replaced it.
I later added some additional styling for the Updates page, which pulls in my latest posts on Micro.blog. Since that page is pulling in remote content, it’s marked up differently than things on this site.
The cost of maintenance
This meant that when I had to modify something in the theme, I’d have to first backup my modified CSS file, pull in changes to the them (which would clobber my changes to style.css), and then re-apply the changes carefully if I’d done anything to modify that CSS file.
Eventually I pulled the Updates page styling out of the main CSS file and put it in its own file, which I’d include inline in /content/update.md. It was hacky, but least I didn’t need to keep re-adding that every time I updated the theme!
Then I learned something interesting, which I kind of already knew. I’m probably oversimplifying here, but when Hugo builds your site, it will include whatever is in your /static folder and, if it has the same name, use that instead of what it finds in /themes/indigo/static.
So, to make like a bit easier, I copied the theme’s main CSS file into the /static/css folder of this site. So long as I didn’t add any elements or classes to the DOM that required styling, I could update Indigo with impunity. But it still meant maintaining two mostly-identical files. Gross.
The new hotness
Admission: I haven’t been moving forward on bugfixes and feature requests for Indigo. The breaking changes introduced in Hugo 0.57 kicked my butt into gear and I’ve been tackling some of the ugly underpinnings of the site since then. And what better place to test these fixes than my own personal site, right?
But that customization process, ugh.
So, with v1.2.0, we now have the ability to easily import custom CSS. Add whatever customizations you’d like to /static/css/custom.css, and Indigo will import them after importing its own stylesheet. Here’s mine.
We’re (only) halfway there
What you’ll notice in my custom.css file is that I’ve created a bunch of variables for colour under :root, and then essentially have a copy of whatever is dealing with colour in the theme’s CSS file copied over, using var(--colour-whatever), so that I only have to define that once.
(I’ve also added the Updates page styling here too, so that it’s not injected inline and I don’t have to maintain a separate file. Yay!)
However, CSS variables aren’t supported by IE11, so the colour changes don’t take:
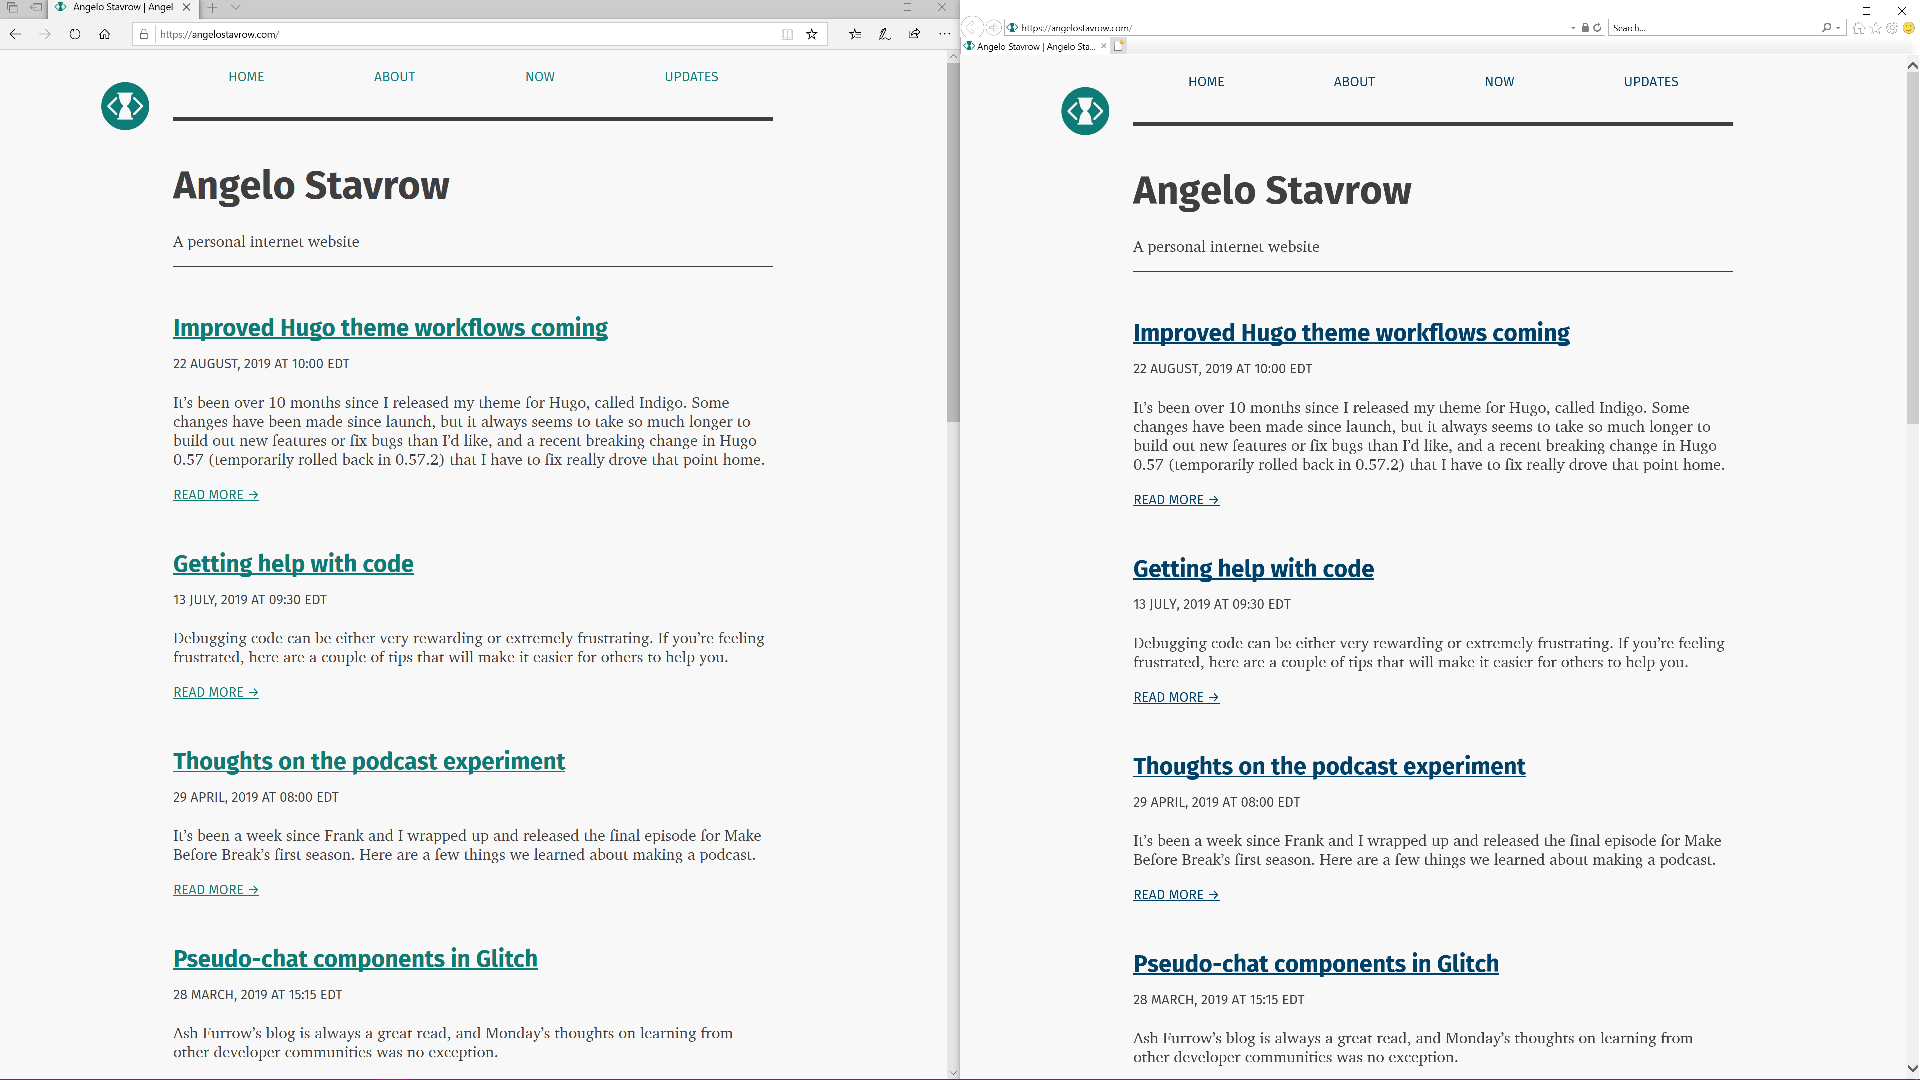
(Edge on the left, IE11 on the right)
This is definitely A Thing™ that I want to improve. Specifically, improving the theme’s CSS so that it’s more maintainable —I’m not a CSS guru by any stretch of the imagination, but even since releasing Indigo I see a lot of opportunity for cleanup here— but also creating a build process (via Hugo Pipes, probably?) to add better backward compatibility for things like CSS properties and, for example, responsive images.
In the meanwhile, this site now runs off of the development branch of the Indigo theme, so let me know if things look broken when you view it!